
If you have worked at any size of company before or now, you have had the difficulty about inconsistent code styles to work with. I have worked at a company which has front-end code based on Rails platform. At that time, it was really diffult to have code convention tools for front-end. So, whenever someone has pull request to get review, other engineers need to make a comment on each code convention issue. Obviously, there were some struggling about those comments since it doesn’t affect on the performance at all, it just style preference, and it cannot be agreed from all of the engineering team sometimes. In that situation, some engineers ignore the comment and merge their pull request without applying it, and it can be a critical communication issue.
Fortunately, the architect team decided to move on to node.js platform for front-end, and we could introduce code convention tools for entire JavaScript code. Then, integrated with CI tool, jenkins, to run lint testing whenever there is new pull request created.
I would like to share how to set up the linter tool for JavaScript code base application, and how to integrate with Travis CI for your personal projects on Github.
Setup Repository
As for now, Eslint is the most popular tool for linting the JavaScript code, so I will introduce it to validate the JavaScript code convention. Let’s set up a repository for this example.
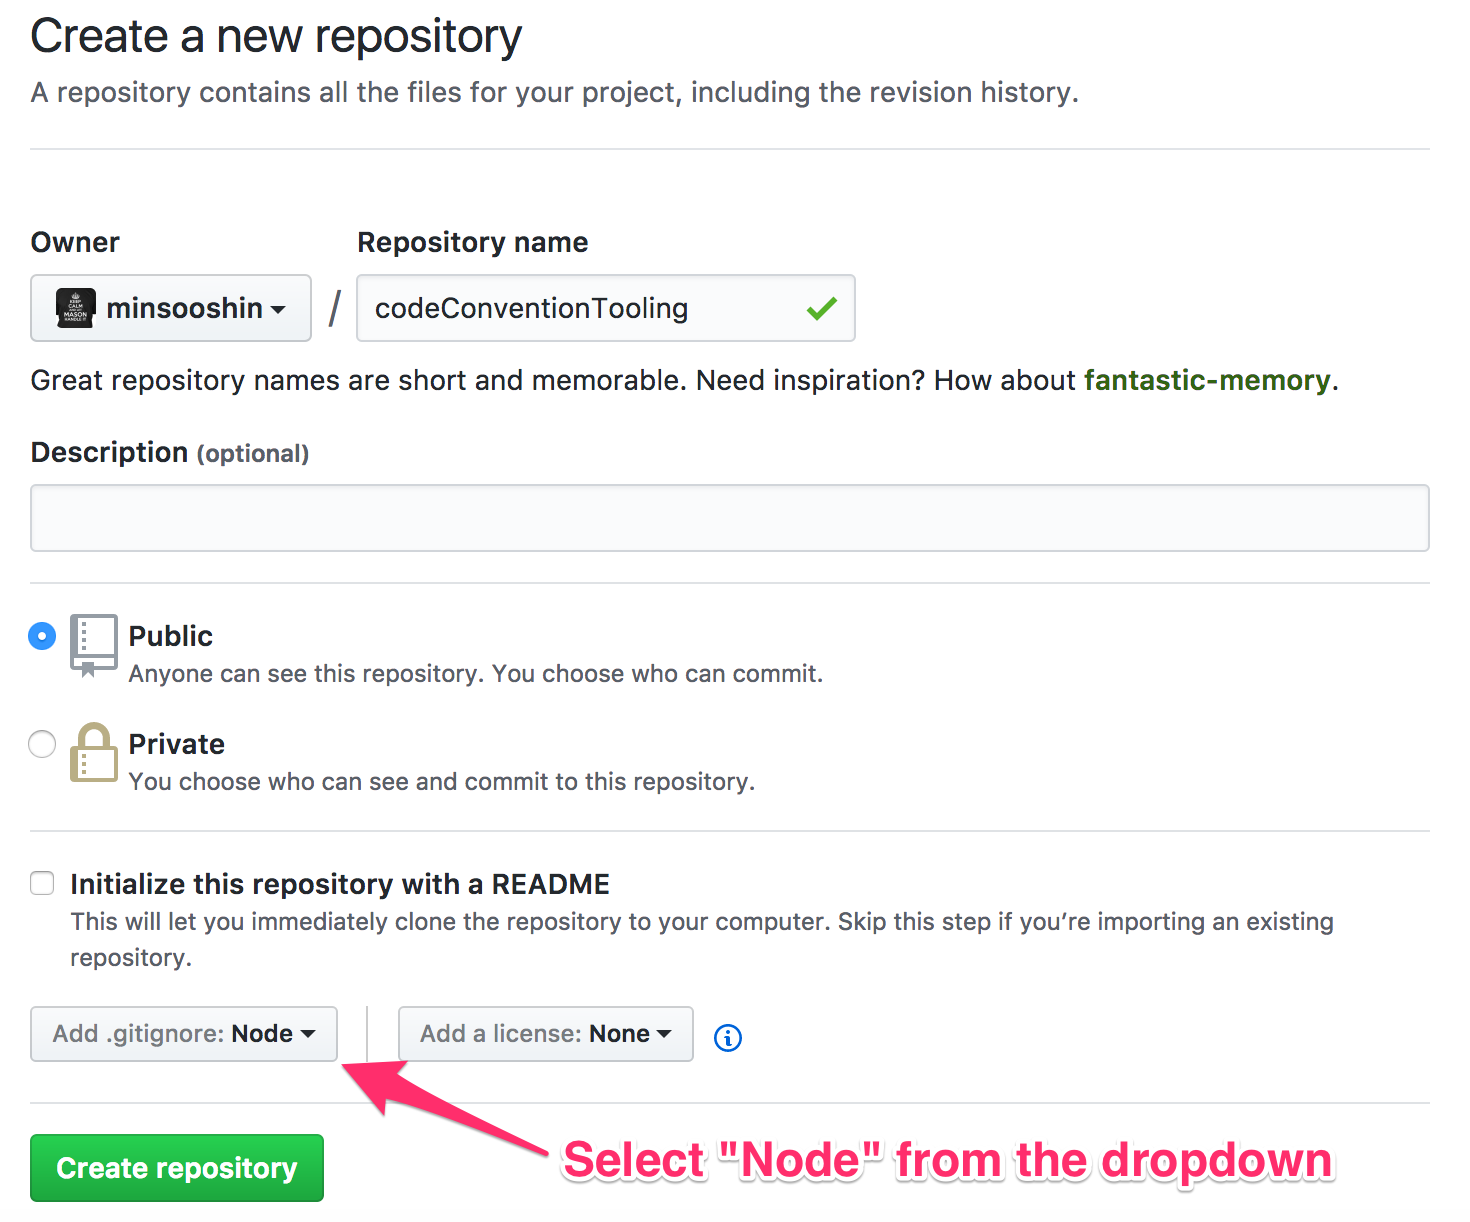
Once you created the repository, let’s clone it on your local machine.
|
|
Install Packages
For this example, we will need some modules to run our application.
|
|
I add one by one to show which packages are needed, you can do this with one line command. Once you installed the packages, your package.json file will look like this.
|
|
Set babel configuration
To use ES6 syntax, let’s create .babelrc file under the project root directory. Then, add these lines.
Initiate Eslint
Now, we can setup our eslint configuration with installed package. Run this command on your terminal.
It will propmt this question to you.
Select Use a popular style guide, then next question will be this.
I use Airbnb most of cases. So, I will select Airbnb, then next.
If you are creating React app, then type y, but I will type N in this example since I am not creating React app. Then, you will see the last question.
|
|
I am using JavaScript format for the eslintrc, so it will generate .eslintrc.js file for me.
NPM Scripts
As you know, we need to set up the npm scripts to execute our expected behaviors in the package.json. Open the package.json file, and add "scripts" property above the "devDependencies".
|
|
Once you have this in your package.json file, you can validate your JavaScript files under src directory with yarn run eslint command. If you are using npm, then use npm instead of yarn.
Example Code
I will create an JavaScript file which exports simple funciton returns the input array has duplicates or not.
|
|
Once you saved this file, let’s execute the command for validate code.
You will get this result from the command.
Each error has the error name on it, so you can find out what the error is for from the Eslint website.
If you don’t want to have the rule which is Airbnb based, you can disable it by adding the rule disabling in the .eslintrc.js file. For example, I usually don’t use semicolon(;) at the end of the line, so I will add this in my .eslintrc.js. The reason why I don’t use semicolon in my code is when I compile the production package, it can be automatically add semicolons.
|
|
Let’s try again our command for validate code. Now, we will get this.
So, all the semicolon issues are gone. Woohoo!! Let’s take a look at the no-plusplus issue. That ++ unary operator is used in the for loop, and it is quite common usage, so I wouldn’t like to change my code due to this error. I will add this line to .eslintrc.js based on the instruction of no-plusplus rule page.
|
|
If you want to keep the default rule and only ignore on a file, then you can disable the rule on specific error.
|
|
Let’s fix other two errors in the code, not updating rules.
Finally, we get this result from our validation.
And the final our containsDuplicate.js file looks like this:
How easy it is!!! Let’s commit changes to move on to Travis CI integration.
Travis CI
Github supports integration with Travis CI only for the public repositories. So, your repository should be public to use Travis CI for free. Before the integration, please sign up the Travis CI with your Github here.
Once you log in Travis CI, you will see this menu on the screen.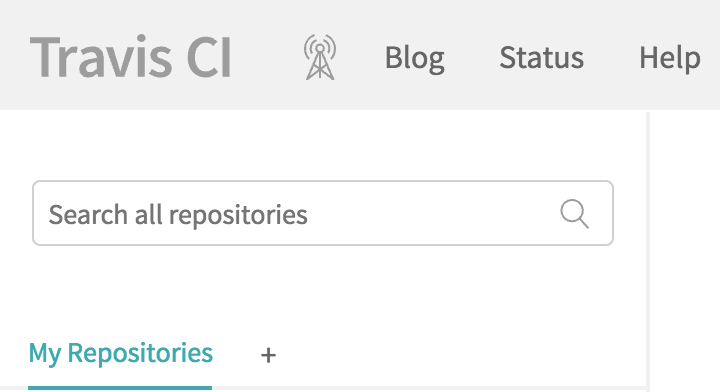
Click on the + icon, then it will show all your Github repositories. Then, click the Sync account button at the top right corner of content, and turn on the codeConventionTooling repository for the CI. I will add the Travis CI badge to my repository to see more easily about the eslint status.
Go to the repository’s Travis CI configuration by clicking the cog icon next to the repository name. Click the badge icon, then you will get a dialog box. Please select whatever you like as format. I usually use markdown format.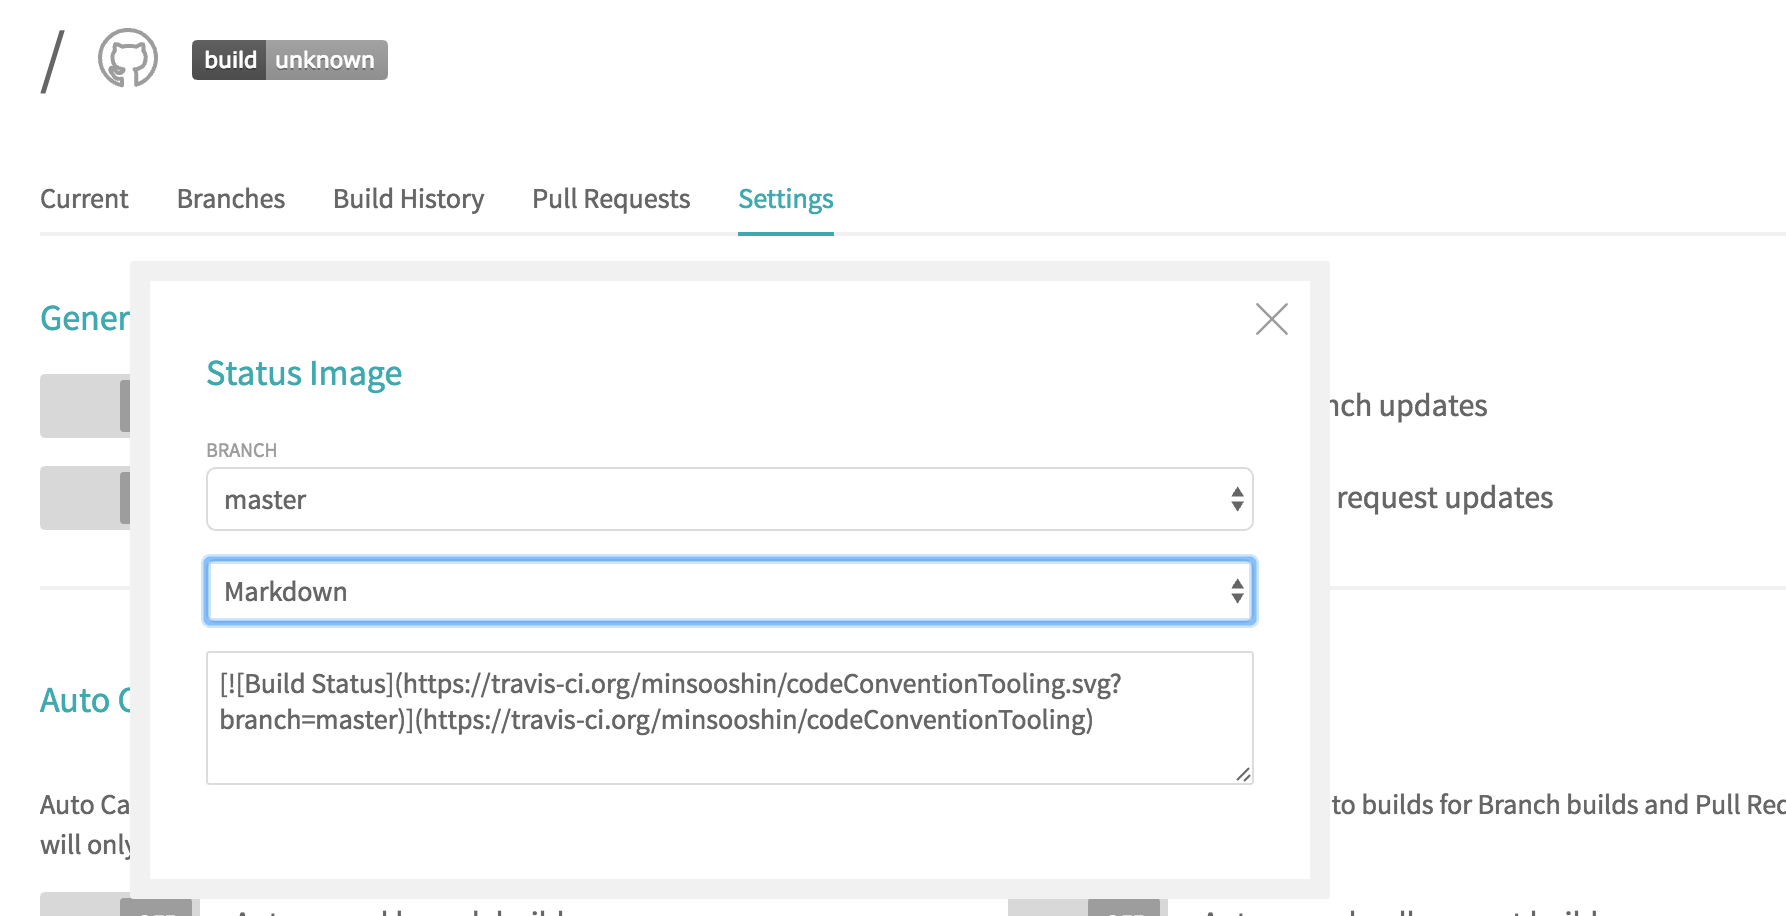
Copy the contents in the textarea, then paste it to your README.md
Next, we need to add a file to integrate the Travis CI with our repository. Create a file with .travis.yml name, and add these lines.
|
|
That is it! Once you commit your change, you will see the Travis CI is triggered. And if the code validation is succeeded, your commit will have green checkmark next to the commit message.

Finally, you can see the Travis CI passing badge.
